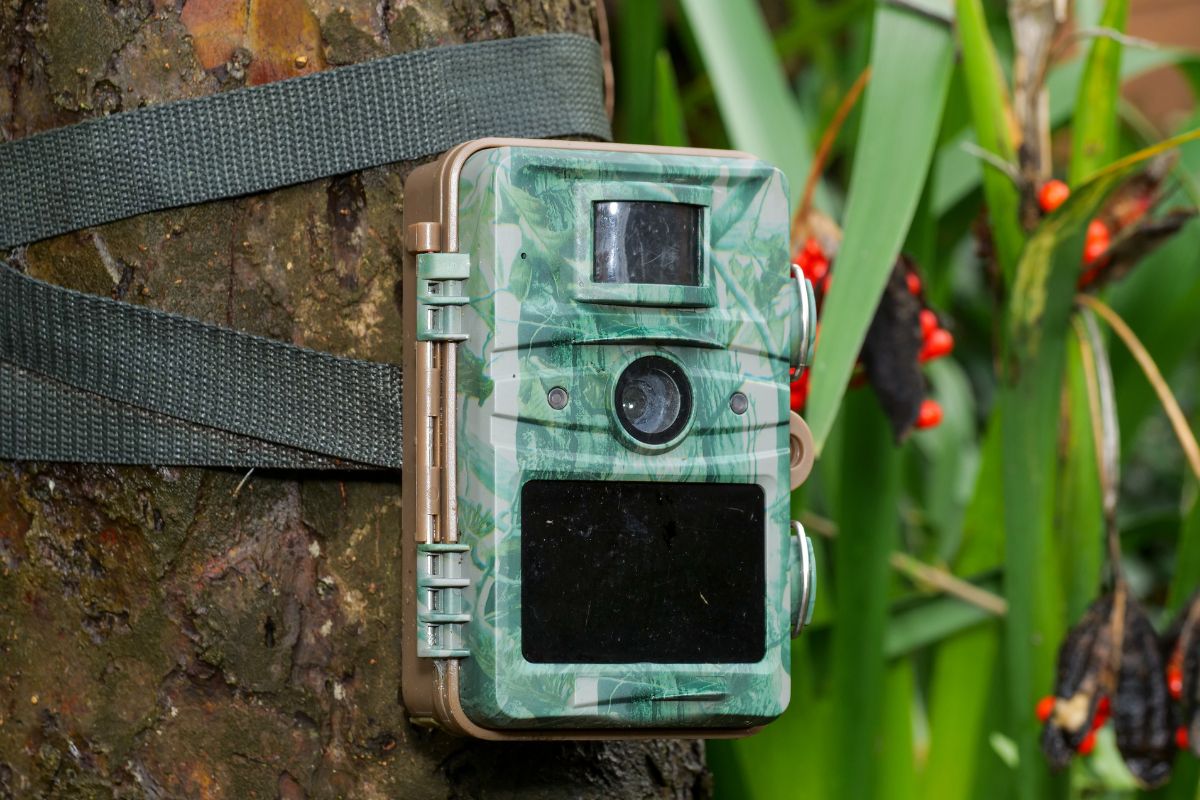
Gone are the days when you would be forced to sit outside for hours and remain eerily quiet to, hopefully, record some wildlife. Now, you can simply set up some trail cameras to do the hard work for you while you remain indoors.
The cameras can work remotely and exist in almost total electronic sleep, like when you leave your television set on standby.
Trail cameras can capture some great shots by letting nature make the camera aware of its presence. In this guide, we will look at how a trail cam works.
How Does A Trail Camera Work?
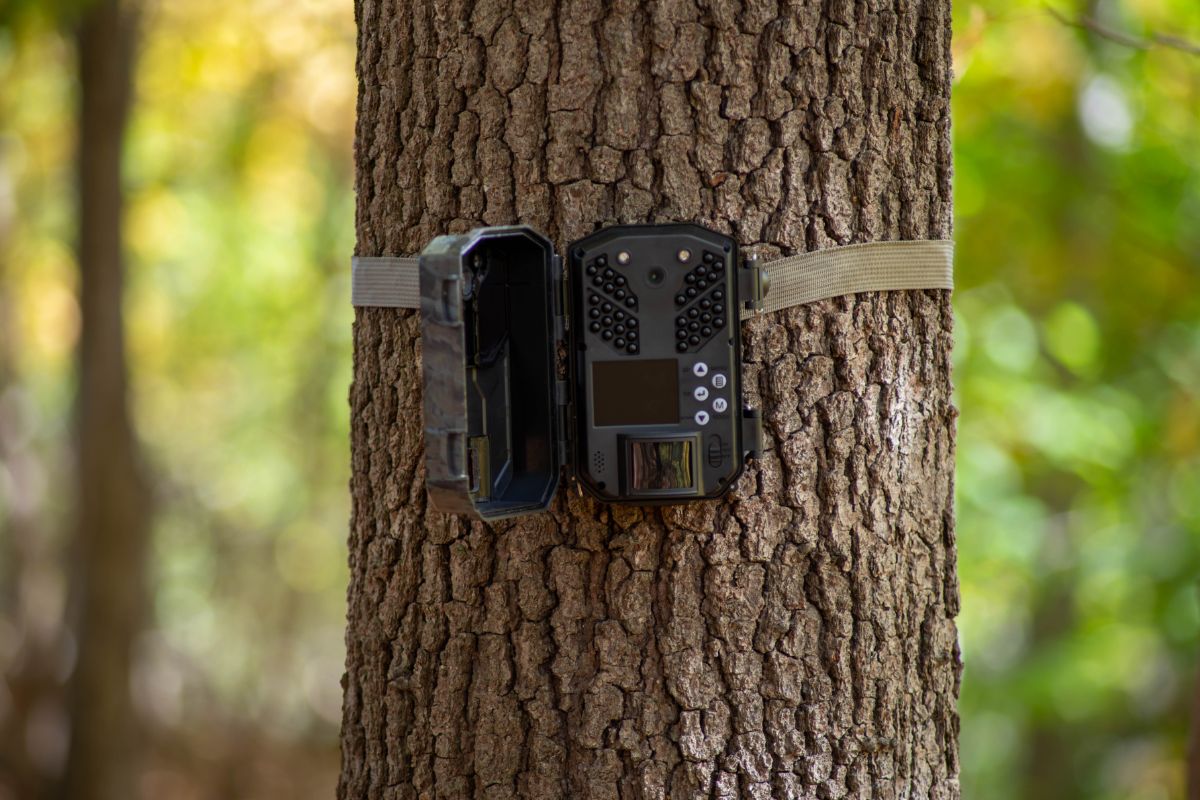
There is essentially only one part of a trail cam that remains awake while the rest of it is in close to complete electronic sleep. That’s the motion sensor and in a lot of trail cameras that’s called the PIR or Passive Infra-Red detector.
This is the same component in a burglar alarm that becomes active when it sensors movement. As soon as the PIR detects and senses motion, it wakes up and alerts the rest of the camera to spring into action.
The steps that a trail cam must follow to take a nature photo include;
To ensure that the photograph is a good shot, the trail cam detects the light levels.
Should the light levels be insufficient, especially at night-time, the trail cam will activate the infra-red flash.
Various settings are determined automatically including the focus and shutter speed.
Depending on the settings, photographs or even a video are taken via the image sensor.
Those photographs and videos are stored on the Secure Digital (SD) card to be discovered and viewed once the trail cam is assessed.
Once the media has been captured on the SD card, the trail camera goes back to almost complete electronic sleep.
The Settings On A Trail Camera
One of the most crucial settings on a trail camera is the flash, specifically the infra-red flash.
This is slightly different to a conventional white-light flash on a typical camera for the primary reason that a white-light flash would likely scare off an animal, particularly at night-time.
However, most trail cameras will take colored photographs and images during the day and then use the infra-red flash when the sun goes down.
As well as the focus, flash, and shutter speed, there are a few more settings that can be applied on a trail camera. This includes how much a trail camera can see, commonly known as the field of view.
Alongside the scope of the trail camera’s field of view, what it can photograph is also determined by a few other factors.
These include;
The type of image-sensor that receives light directly from the lens,
The combination of those lenses,
The level of natural or artificial light (whether a flash or sunlight is used) and;
The time between when the photo is taken and the movement is detected (trigger-time).
How A Trail Camera Detects The Movement Of Animals
While a few trail cameras will use external motion detection devices, the vast majority will use PIRs.
These sensors will detect changes in the thermal landscape directly in front of the camera, specifically movement and anything that moves which is a different temperature to its surroundings.
That means warm animals in cold backgrounds and cold objects in warm backgrounds. Such a key feature only becomes important when the movement is sufficient as even a huge animal can remain undetected if it is pretty much motionless.
How The Trigger Time Works
Depending on the speed and activity of an animal, the trigger time can prove very important. For a relatively slow animal, a trigger time of over a second should still mean you capture a good photo.
However, for quick animals that can literally zoom across a field of view, a trigger time of 0.1 seconds may be crucial and the setting can depend on the model and make of the trail camera.
A rapid trigger time can prove to be a huge selling point. However, it is good to remember that the trigger time will undoubtedly be slow if you decide to record a video.
This is because waking up the video features will take longer than those used for photographs. If you do want to record video, particularly of fast-moving animals, then you should have a camera with a rapid trigger time on the video setting.
Final Thoughts
Buying the right trail camera may simply be a case of what type of animals you want to capture. In certain landscapes, the terrain can determine the speed of the animals.
If it is a slow-moving deer you want to take photos of then one with a relatively slow trigger time should be fine. However, on a desert landscape you can escape some fast-moving animals which will require a better trail camera with a faster trigger time.
Frequently Asked Questions
Why Should I Consider A Cellular Trail Camera?
Instead of setting up a trail camera and then seeing what has been captured at a later time, a cellular trail camera will provide real-time notifications.
These work on particular cellular networks and have become a popular option but do require around three bars of service for the camera to work properly so may not work in remote locations.
However, if you do want live streaming capabilities and instant access to your photos then consider a cellular trail camera.
How Does The Recovery Time On A Trail Camera Work?
Depending on how busy the landscape is in front of the trail camera, the recovery time becomes really important. Just like the trigger time, the recovery time is a selling point as the best ones will have little or no recovery time at all.
This means that the trail camera can take several photographs in a row which can be crucial if there are several animals in a herd. The last thing that you want is just a single photograph of the lead animal when there are several animals walking behind it.
Hi, I’m Matt Anderson and I have been passionate about cybersecurity for many years. I’ve worked as that IT guy in many offices over the years, and I now work as a Software Development Consultant.
If you are interested in making your online presence, your home, your life and your family’s lives much more secure in the modern age, then my hope is that securityfuse.com has all of the answers you need.
I’ve set up this website as a hub of all things security, including which home cameras to purchase, how to use them, which software is safe, how to learn self defense, and how to make your online accounts secure from hackers. Join me in making your home life and online life worry free.