Now more than ever, people are increasingly interested in home security cameras. Whether you like them for extra safety, or you have a busy puppy at home, a camera can be a great idea to give you a little bit of peace of mind.
Blink (see also: How Much Is Blink Subscription)is one of the leading names for wireless, Wi-Fi enabled cameras on the market.
Smart cameras are taking the world by storm, and offering users motion detection near or inside of their homes, two way audio, night vision, and HD video all in a small, compact, easy to use camera system.
These cameras are affordable, simple to use, and work with Amazon Alexa for seamless integration and voice commands.
The only small hurdle after buying one is figuring out how to set it up, but we’re here to help you out.
How To Install A Blink Camera
Once you have your Blink device, the first thing you need to do is download the Blink Home Monitor App, which you can get on the App Store (iOS devices) or the Google Play Store (Android devices).
You’ll need to create an account, with your email address, location, and a password. Then, you’ll have to verify your email address and phone number before you can begin.
A quick way to find the app is to scan the QR code on the instructions that come with the Blink device.
Once you get sent a verification code, enter it where needed on the app, and do the same for your phone number.
Then, you will be asked if you want to link to your Amazon account. You’ll need to do this if you want to use Amazon Alexa.
Once you’re logged in, you will need to connect the device or camera. To do this, you’ll have to select the plus sign in the corner, to add a Blink device.
Then, scan the QR code on the back of the Sync Module of your device, or enter the serial number.
After adding it, you will need to ‘Create A New System’ and choose a name for the device.
The next step is to plug in the Sync Module into an outlet. You can either plug it in using the USB cable if you have USB outlets, or use the power adapter that comes with the device.
Once it’s plugged in, you’ll need to wait for the green light to come on, and you will see a blue light flashing.
If the green light is not still, and the blue right isn’t blinking, then use a small pin or paperclip to reset the Sync Module.
The next step is to press ‘Discover Device’, and tap the ‘Join’ button, and your phone will ask you if a blink device can join your Wi-Fi network.
Select ‘Join’, and then choose your Wi-Fi network. It may take a little moment to load, but then select ‘Done’.
Now that’s over with, you can set up and install your Blink camera in your home. This is also fairly straightforward to do.
The first step is to take off the back cover of the camera, and place the batteries inside. Your camera should come with a tool to help you get the back cover off. Add in two AA batteries.
Then, go into your Blink Home Monitor application, and select the plus sign. Then, choose your camera model from the list. Then, you will need to scan the QR code to connect the device.
Once selected, the camera may need to update for a few moments. Select ‘Done’ on the setup page, and place the cover back on the camera.
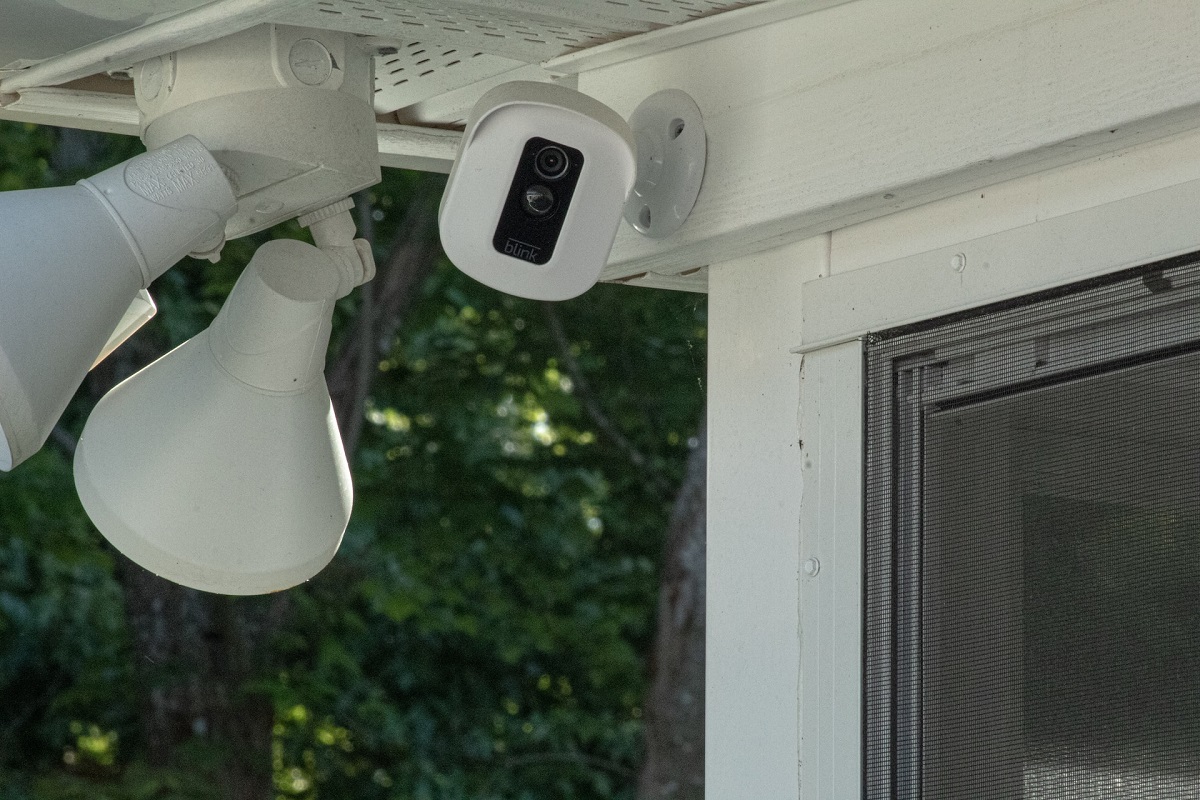
Now, all you need to do is find the perfect place for your camera, and mount it.
How Do You Mount A Blink Camera?
The easiest way to put up your Blink camera is with the mount included. If you are placing the camera somewhere high, then it is best to screw the mount in first, and then attach the camera, in case you drop it.
The best place to put your Blink camera (if outside) is away from populated sidewalks or walkways as you’ll get way too many motion alerts, and away from trees that could block the view, or have swinging branches that will set off the motion detectors.
Blink cameras can only detect motion and movements up to 20 feet away, so be mindful of that when choosing the location.
You can test out a few different locations by taking a snapshot of what the camera can see, and then eliminating the worst spots for the best ones.
Once you have decided on the right spot for the camera, place the mounting bracket on this area, and mark on the surface where you’ll have to drill.
Then, drill pilot holes, and screw the mount tightly into the pilot holes. Finally, check that the back of your camera is securely in place, especially if mounting outside as you don’t want it to get water damaged, and attach the camera to the mount.
How Do I Install A Blink Camera Without Drilling?
If you do not want to use screws or drill holes onto the surface you are placing the camera, then there are other options. You can use magnetic mounts, suction cup mounts, or ones that are self adhesive.
Are Blink Cameras Easy To Install?
Hopefully, after following our tips, this question should be easily answered. Blink cameras are actually very simple to install.
Luckily, Blink offers a lot of help and support in setting up your camera systems, and you can follow the Blink App to get started.
Summary
With this guide, you can set up your Blink camera with ease. Once you have followed the steps, all that is left to do is set up your preferences in the app, such as motion detection, sensitivity, clip length, and notifications, and you’re good to go with your home security system.
Hi, I’m Matt Anderson and I have been passionate about cybersecurity for many years. I’ve worked as that IT guy in many offices over the years, and I now work as a Software Development Consultant.
If you are interested in making your online presence, your home, your life and your family’s lives much more secure in the modern age, then my hope is that securityfuse.com has all of the answers you need.
I’ve set up this website as a hub of all things security, including which home cameras to purchase, how to use them, which software is safe, how to learn self defense, and how to make your online accounts secure from hackers. Join me in making your home life and online life worry free.


![What Are The Most Hacked Passwords? [20 Examples You Need To Know]](https://securityfuse.com/storage/2023/02/What-Are-The-Most-Hacked-Passwords-20-Examples-You-Need-To-Know.jpg "Top Hacked Passwords: Examples You Need to Know - Security Fuse")
